The team: (now updated) !!!

Tyranitar (M) @ Leftovers
Trait: Sand Stream
EVs: 252 HP / 4 Atk / 252 SDef
Serious Nature
- Stealth Rock
- Crunch
- Fire Blast
- Pursuit
With appropriate investment and the Special Defense boost in a sandstorm, Tyranitar gains the ability to combat several notable specially based threats, such as Latios, Ninetales, and Jolteon. Tyranitar can also reliably set up Stealth Rock because of its ability to threaten the Pokemon that possess Magic Bounce with its powerful Dark-type STAB attacks. Stealth Rock is the only hazard Tyranitar sets up, but it is enough to easily cripple several important OU Pokemon, such as Ninetales, Volcarona, and Thundurus-T. Crunch is Tyranitar's most reliable STAB move due to its ability to OHKO targets such as Latios, Gengar, and Starmie and 2HKO several other Pokemon. Pursuit is Tyranitar's other STAB move and is great for trapping frail Pokemon that switch out in fear of a powerful attack. Fire Blast is the preferred move in the last slot because it allows Tyranitar to defeat Forretress and Ferrothorn while retaining the ability to hurt Breloom and Scizor.
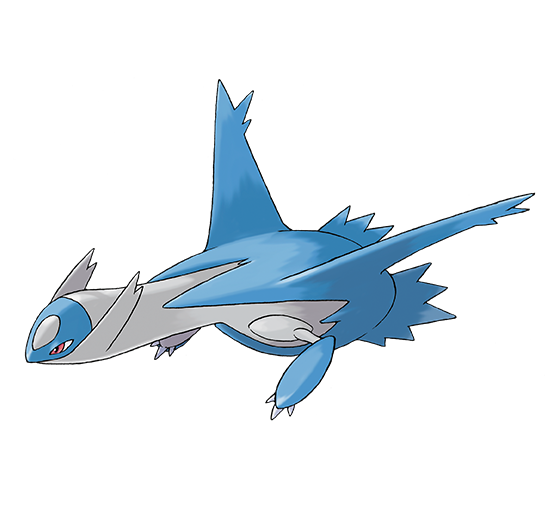
Latios (M) @ Choice Scarf
Trait: Levitate
EVs: 4 HP / 252 SAtk / 252 Spd
Timid Nature (+Spd, -Atk)
- Trick
- Draco Meteor
- Hidden Power [Fire]
- Psyshock
This set transforms Latios into a powerful nuke capable of destroying almost everything with just Draco Meteor, as every other move in the set is there to help Latios spam it. To give you an example of Draco Meteor's power, it cleanly 2HKOs 248 HP Scizor after Stealth Rock. Less specially bulky Steel-types such as Skarmory and Forretress don't even stand a chance of surviving two Draco Meteors. Surf takes down any Steel-type in OU except for Ferrothorn and Jirachi, 2HKOes any Tyranitar bar the specially defensive variant, and gets pseudo-STAB in rain, making it a very safe move to use when Steel-types are healthy. Psyshock gets STAB and gives Latios a way to get past Blissey and Chansey, easily 2HKOing the first while having a decent chance (30.47%) to 2HKO the latter after Stealth Rock and sandstorm damage. It also allows Latios to OHKO Keldeo regardless of how many Calm Mind boosts it has accumulated. In the last slot, Trick cripples any defensive answer to Latios bar Tyranitar and makes setup sweepers such as Jirachi and Celebi much easier to handle. Trick is very useful against balanced and defensive teams, which have solid defensive cores that are difficult to break through, and by crippling one of their defensive Pokemon you have basically weakened their whole defensive core. Hidden Power Fire is the only move that can break past Ferrothorn and 2HKOes specially defensive Jirachi after Stealth Rock and one layer of Spikes, but lowers Latios's Speed by one point, resulting in Latios getting outspeed by opposing Latios, Latias, and Gengar, all very popular Pokemon in OU.
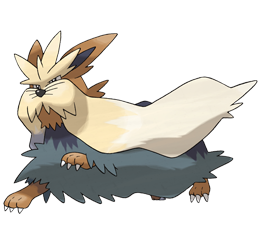
Stoutland (M) @ Choice Band
Trait: Sand Rush
EVs: 252 Atk / 4 SDef / 252 Spd
Adamant Nature (+Atk, -SAtk)
- Return
- Crunch
- Wild Charge
- Superpower
This is Stoutland's best set—the only one viable in OU. Thanks to Sand Rush, it has an effective Speed stat of 518 in sandstorm, which is enough to outpace the entire unboosted metagame, including most Choice Scarf users. This allows Stoutland to become an effective revenge killer, as it can utilize a Choice Band to hit much harder than most other Choice Scarf revenge killers while still outpacing boosted opponents. Among the dangerous boosted foes it can check are Volcarona, Salamence, and Gyarados.
Return is Stoutland's preferred STAB move and allows it to heavily dent several foes or finish off a weakened team late-game. Superpower allows it to destroy most Rock- and Steel-types, such as Terrakion and Ferrothorn. Pursuit is the preferred option for the third slot, as it puts Ghost- and Psychic-types, such as Gengar and Latios, in a checkmate position if they try to switch out. However, Crunch can be used instead to break through bulkier Ghost-types that instead stay in and it also secures a OHKO on Gengar if it attempts to stay in. Finally, Wild Charge is there to 2HKO Skarmory and Jellicent, as they don't take much damage from any of Stoutland's other moves; furthermore, it lands an OHKO on bulkier variants of Gyarados.

Landorus-T (M) @ Leftovers
Trait: (No Ability)
EVs: 48 HP / 252 Atk / 208 Spd
Adamant Nature (+Atk, -SAtk)
- Swords Dance
- Rock Polish
- Earthquake
- Stone Edge
Landorus-T's respectable bulk, useful ability in Intimidate, and key resistance to Fighting and immunity to Ground and Electric attacks make it a perfect candidate for a double boosting set. The main selling point of this set is its flexibility. With a Swords Dance boost, Landorus-T can rip through slower, more defensive teams while Rock Polish lets it clean up weakened, faster teams. Due to the aforementioned attributes, it is not uncommon for Landorus-T to grab multiple boosts and decimate unprepared teams. While Terrakion might seem like the superior double booster due to its higher Speed and access to STAB Stone Edge, Landorus-T sports a higher base Attack and has a much easier time setting up on common walls such as Forretress and Ferrothorn thanks to Intimidate and its lack of weaknesses to their STAB moves. Unlike Terrakion, Landorus-T is also not weak to common priority moves such as Mach Punch and Bullet Punch, although Ice Shard will quickly dismantle it.
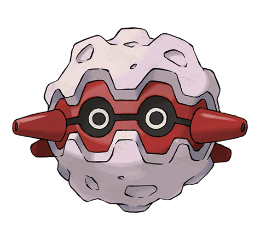
Forretress (M) @ Leftovers
Trait: Sturdy
EVs: 252 HP / 200 Def / 56 SAtk
Relaxed Nature (+Def, -Spd)
- Spikes
- Hidden Power [Ice]
- Volt Switch
- Rapid Spin
Although a specially defensive spread is good for making Forretress an excellent mixed defensive pivot, a physically defensive set is equally viable. Rapid Spin is arguably the most important move in the set, as it benefits just about all teams. Furthermore, Forretress can switch into most Tyranitar, Bronzong, and Ferrothorn without fear. Volt Switch is what sets Forretress apart from other defensive Steel-types; it gives Forretress the ability to not only tank hits, but to maintain momentum for your team too. Volt Switch is also excellent for luring in Ghost-types, most commonly Jellicent and Chandelure; you can then switch to a Pursuit trapper to get rid of them. Hidden Power Ice might seem like a strange pick considering Forretress's low Special Attack stat, but the move is surprisingly useful. For instance, it lets Forretress 2HKO Gliscor, as well as Garchomp and Dragonite, after Stealth Rock. Additionally, Forretress's other offensive moves, such as Gyro Ball and Earthquake, are rather mediocre. Finally, the last moveslot depends on what your team needs; run Stealth Rock if your team has no other user of the move, and Spikes or Toxic Spikes if your team already has a Stealth Rock user.
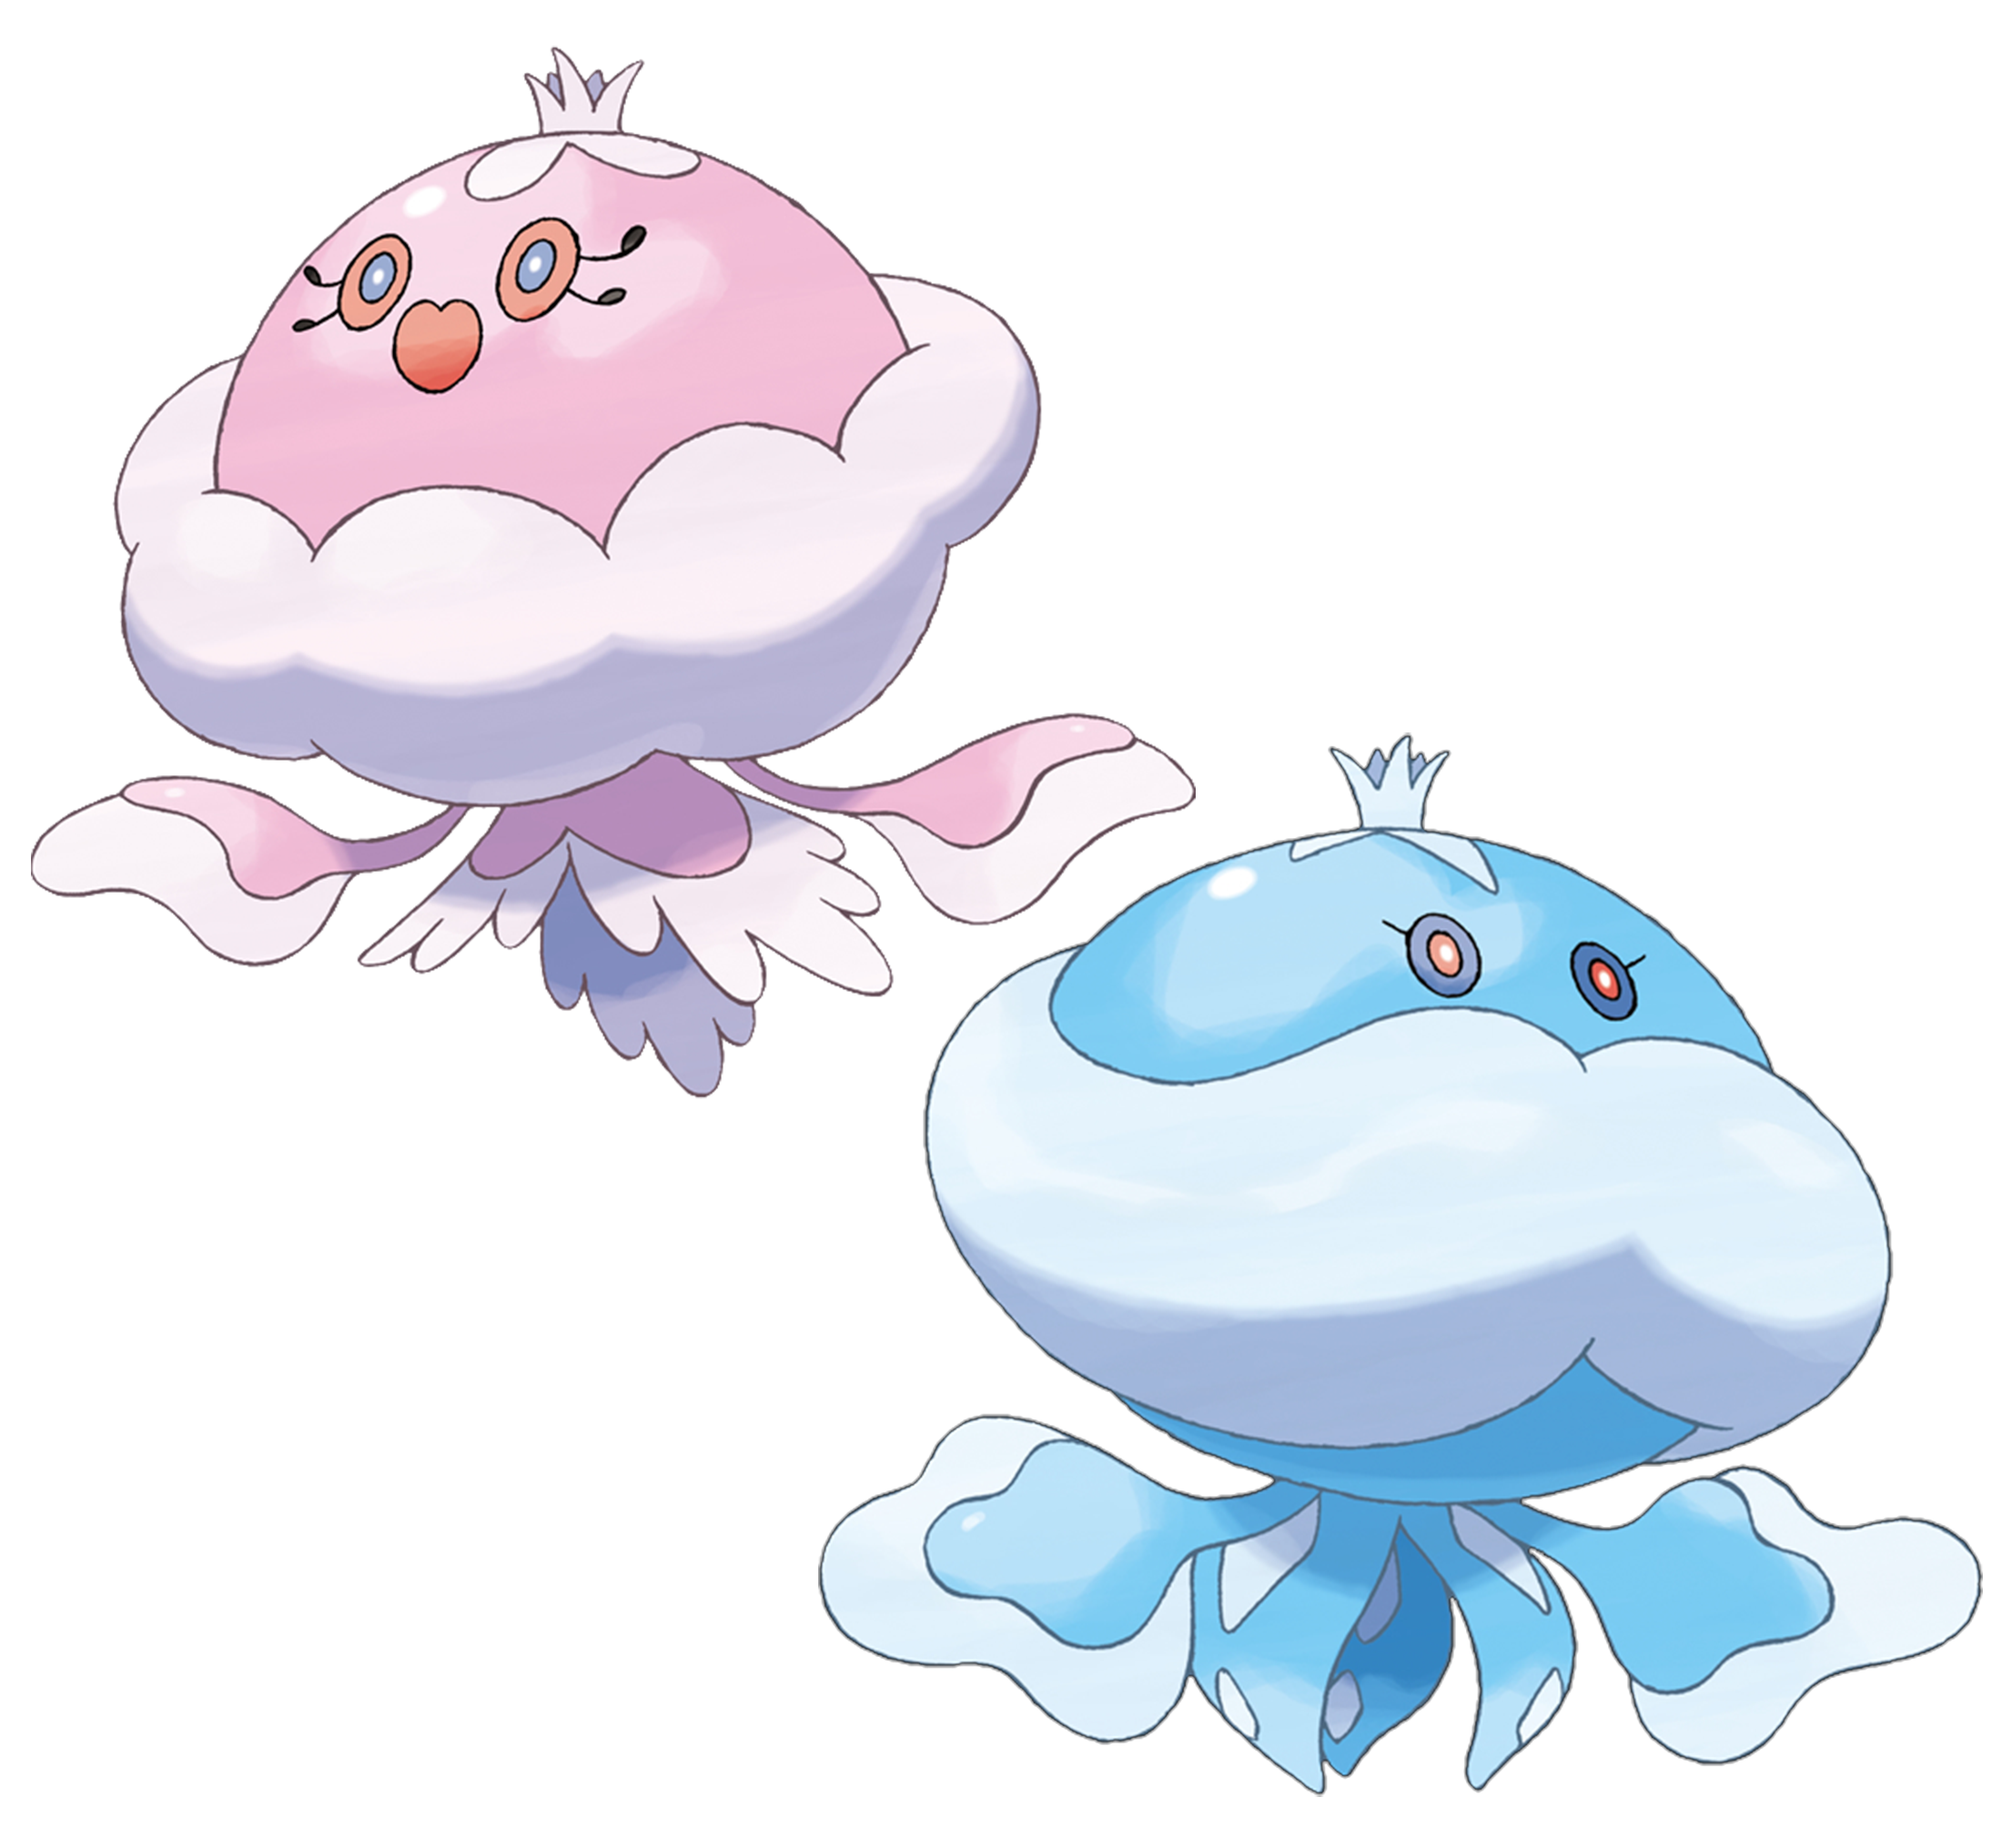
Jellicent (M) @ Leftovers
Trait: Water Absorb
EVs: 252 HP / 36 Def / 220 SDef
Calm Nature
- Scald
- Toxic
- Taunt
- Recover
Jellicent's typing and stat distribution make it an excellent special wall. This set's niche is for a more concentrated form of stall, as this set's primary objective is to tank hits, inflict status, and slowly wear the opponent down. This set is extremely viable over other walls such as Blissey and Chansey because of Jellicent's arguably better typing, dual STAB, and the ability to spinblock against nearly every Rapid Spin user. To add to that, Jellicent has a great ability in Water Absorb, which provides it with valuable recovery whenever it is hit with a Water-type move. Scald is the crux of this set, providing a strong, special STAB attack and giving a chance for a nasty status affliction. Recover allows Jellicent to survive much longer in tandem with Leftovers, and is a necessity for this set. The choice between Toxic and Will-O-Wisp is one based on preference. Toxic allows Jellicent to stall out dangerous threats faster than Will-O-Wisp, but doesn't give the Attack drop which enables Jellicent to stay in on physical threats. Toxic is the preferred option because it hits Volcarona (a dangerous special threat), and absorbing physical attacks is not this set's goal. The fourth moveslot is a toss-up between Shadow Ball and Ice Beam, although Shadow Ball is generally better due to its ability to hit Latias, Latios, and Celebi much harder than Ice Beam. It also provides super effective coverage on Alakazam, Gengar, and other Jellicent, while hitting Dragon-types neutrally. Ice Beam can be used for coverage against Dragonite, Salamence, and Grass-types, however, if one wishes.
Finally I've finished my post!!!. =D

Tyranitar (M) @ Leftovers
Trait: Sand Stream
EVs: 252 HP / 4 Atk / 252 SDef
Serious Nature
- Stealth Rock
- Crunch
- Fire Blast
- Pursuit
With appropriate investment and the Special Defense boost in a sandstorm, Tyranitar gains the ability to combat several notable specially based threats, such as Latios, Ninetales, and Jolteon. Tyranitar can also reliably set up Stealth Rock because of its ability to threaten the Pokemon that possess Magic Bounce with its powerful Dark-type STAB attacks. Stealth Rock is the only hazard Tyranitar sets up, but it is enough to easily cripple several important OU Pokemon, such as Ninetales, Volcarona, and Thundurus-T. Crunch is Tyranitar's most reliable STAB move due to its ability to OHKO targets such as Latios, Gengar, and Starmie and 2HKO several other Pokemon. Pursuit is Tyranitar's other STAB move and is great for trapping frail Pokemon that switch out in fear of a powerful attack. Fire Blast is the preferred move in the last slot because it allows Tyranitar to defeat Forretress and Ferrothorn while retaining the ability to hurt Breloom and Scizor.

Latios (M) @ Choice Scarf
Trait: Levitate
EVs: 4 HP / 252 SAtk / 252 Spd
Timid Nature (+Spd, -Atk)
- Trick
- Draco Meteor
- Hidden Power [Fire]
- Psyshock
This set transforms Latios into a powerful nuke capable of destroying almost everything with just Draco Meteor, as every other move in the set is there to help Latios spam it. To give you an example of Draco Meteor's power, it cleanly 2HKOs 248 HP Scizor after Stealth Rock. Less specially bulky Steel-types such as Skarmory and Forretress don't even stand a chance of surviving two Draco Meteors. Surf takes down any Steel-type in OU except for Ferrothorn and Jirachi, 2HKOes any Tyranitar bar the specially defensive variant, and gets pseudo-STAB in rain, making it a very safe move to use when Steel-types are healthy. Psyshock gets STAB and gives Latios a way to get past Blissey and Chansey, easily 2HKOing the first while having a decent chance (30.47%) to 2HKO the latter after Stealth Rock and sandstorm damage. It also allows Latios to OHKO Keldeo regardless of how many Calm Mind boosts it has accumulated. In the last slot, Trick cripples any defensive answer to Latios bar Tyranitar and makes setup sweepers such as Jirachi and Celebi much easier to handle. Trick is very useful against balanced and defensive teams, which have solid defensive cores that are difficult to break through, and by crippling one of their defensive Pokemon you have basically weakened their whole defensive core. Hidden Power Fire is the only move that can break past Ferrothorn and 2HKOes specially defensive Jirachi after Stealth Rock and one layer of Spikes, but lowers Latios's Speed by one point, resulting in Latios getting outspeed by opposing Latios, Latias, and Gengar, all very popular Pokemon in OU.

Stoutland (M) @ Choice Band
Trait: Sand Rush
EVs: 252 Atk / 4 SDef / 252 Spd
Adamant Nature (+Atk, -SAtk)
- Return
- Crunch
- Wild Charge
- Superpower
This is Stoutland's best set—the only one viable in OU. Thanks to Sand Rush, it has an effective Speed stat of 518 in sandstorm, which is enough to outpace the entire unboosted metagame, including most Choice Scarf users. This allows Stoutland to become an effective revenge killer, as it can utilize a Choice Band to hit much harder than most other Choice Scarf revenge killers while still outpacing boosted opponents. Among the dangerous boosted foes it can check are Volcarona, Salamence, and Gyarados.
Return is Stoutland's preferred STAB move and allows it to heavily dent several foes or finish off a weakened team late-game. Superpower allows it to destroy most Rock- and Steel-types, such as Terrakion and Ferrothorn. Pursuit is the preferred option for the third slot, as it puts Ghost- and Psychic-types, such as Gengar and Latios, in a checkmate position if they try to switch out. However, Crunch can be used instead to break through bulkier Ghost-types that instead stay in and it also secures a OHKO on Gengar if it attempts to stay in. Finally, Wild Charge is there to 2HKO Skarmory and Jellicent, as they don't take much damage from any of Stoutland's other moves; furthermore, it lands an OHKO on bulkier variants of Gyarados.

Landorus-T (M) @ Leftovers
Trait: (No Ability)
EVs: 48 HP / 252 Atk / 208 Spd
Adamant Nature (+Atk, -SAtk)
- Swords Dance
- Rock Polish
- Earthquake
- Stone Edge
Landorus-T's respectable bulk, useful ability in Intimidate, and key resistance to Fighting and immunity to Ground and Electric attacks make it a perfect candidate for a double boosting set. The main selling point of this set is its flexibility. With a Swords Dance boost, Landorus-T can rip through slower, more defensive teams while Rock Polish lets it clean up weakened, faster teams. Due to the aforementioned attributes, it is not uncommon for Landorus-T to grab multiple boosts and decimate unprepared teams. While Terrakion might seem like the superior double booster due to its higher Speed and access to STAB Stone Edge, Landorus-T sports a higher base Attack and has a much easier time setting up on common walls such as Forretress and Ferrothorn thanks to Intimidate and its lack of weaknesses to their STAB moves. Unlike Terrakion, Landorus-T is also not weak to common priority moves such as Mach Punch and Bullet Punch, although Ice Shard will quickly dismantle it.

Forretress (M) @ Leftovers
Trait: Sturdy
EVs: 252 HP / 200 Def / 56 SAtk
Relaxed Nature (+Def, -Spd)
- Spikes
- Hidden Power [Ice]
- Volt Switch
- Rapid Spin
Although a specially defensive spread is good for making Forretress an excellent mixed defensive pivot, a physically defensive set is equally viable. Rapid Spin is arguably the most important move in the set, as it benefits just about all teams. Furthermore, Forretress can switch into most Tyranitar, Bronzong, and Ferrothorn without fear. Volt Switch is what sets Forretress apart from other defensive Steel-types; it gives Forretress the ability to not only tank hits, but to maintain momentum for your team too. Volt Switch is also excellent for luring in Ghost-types, most commonly Jellicent and Chandelure; you can then switch to a Pursuit trapper to get rid of them. Hidden Power Ice might seem like a strange pick considering Forretress's low Special Attack stat, but the move is surprisingly useful. For instance, it lets Forretress 2HKO Gliscor, as well as Garchomp and Dragonite, after Stealth Rock. Additionally, Forretress's other offensive moves, such as Gyro Ball and Earthquake, are rather mediocre. Finally, the last moveslot depends on what your team needs; run Stealth Rock if your team has no other user of the move, and Spikes or Toxic Spikes if your team already has a Stealth Rock user.

Jellicent (M) @ Leftovers
Trait: Water Absorb
EVs: 252 HP / 36 Def / 220 SDef
Calm Nature
- Scald
- Toxic
- Taunt
- Recover
Jellicent's typing and stat distribution make it an excellent special wall. This set's niche is for a more concentrated form of stall, as this set's primary objective is to tank hits, inflict status, and slowly wear the opponent down. This set is extremely viable over other walls such as Blissey and Chansey because of Jellicent's arguably better typing, dual STAB, and the ability to spinblock against nearly every Rapid Spin user. To add to that, Jellicent has a great ability in Water Absorb, which provides it with valuable recovery whenever it is hit with a Water-type move. Scald is the crux of this set, providing a strong, special STAB attack and giving a chance for a nasty status affliction. Recover allows Jellicent to survive much longer in tandem with Leftovers, and is a necessity for this set. The choice between Toxic and Will-O-Wisp is one based on preference. Toxic allows Jellicent to stall out dangerous threats faster than Will-O-Wisp, but doesn't give the Attack drop which enables Jellicent to stay in on physical threats. Toxic is the preferred option because it hits Volcarona (a dangerous special threat), and absorbing physical attacks is not this set's goal. The fourth moveslot is a toss-up between Shadow Ball and Ice Beam, although Shadow Ball is generally better due to its ability to hit Latias, Latios, and Celebi much harder than Ice Beam. It also provides super effective coverage on Alakazam, Gengar, and other Jellicent, while hitting Dragon-types neutrally. Ice Beam can be used for coverage against Dragonite, Salamence, and Grass-types, however, if one wishes.
Finally I've finished my post!!!. =D


