(reposting from Wishmkr for those that didn't see there, sorry to those that already saw it, with a few edits and additions to text):
I took pics as meticulously as I could, as I often forgot when I was really rolling with some of this intense anatomy. I've never worked with bird bones before so this was a challenge. I did try my best to document it for you guys. Overall I'm missing the sclerotic ossicles (bones in the retina of the eyes), some ribs and both scapula. Pretty damn complete though! I'm not overly satisfied with the finished product but it was almost as hard of a skeleton as I coulda picked for my first full mount, not to mention the lack of experience with both full mounts and bird bones...so here you go! I worked my ass off on this and I hope you enjoy reading the process a bit. Feedback and questions would be lovely.
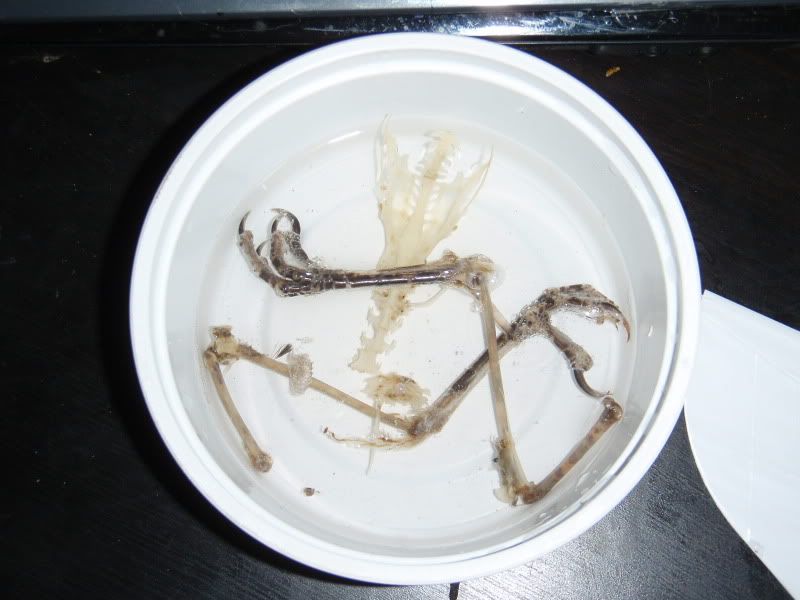
This is an example of what I dealt with. This is the lower half of its body, you can see the scales are on the legs still. I got so mad at this waterproof shit on its legs that I ripped it open and boiled it (microwave style) in peroxide for 2 minutes. This made the soft tissue fall off the bones and sterilized the shit out of it. Radiation + peroxide + boiling kills everything I can think of! I rolled this out because I was so insanely pissed off with flesh sticking to bones that were less than 1cm long and easily crushable...so yeah, this was the hardest core bleaching I've ever done! I kinda regret not taking a pic of it for you guys, but all the tendons tightened up and it was like gnarled roots. Nicely bleached bones, though! Shoulda done that with all the damn bones, made a nice clean product. I may still throw down some white paint on this bird, as well as enamel to seal the still rotting marrow in the center of the bones as that is reasonably common practice in museums for small songbird skeletons, it seems.
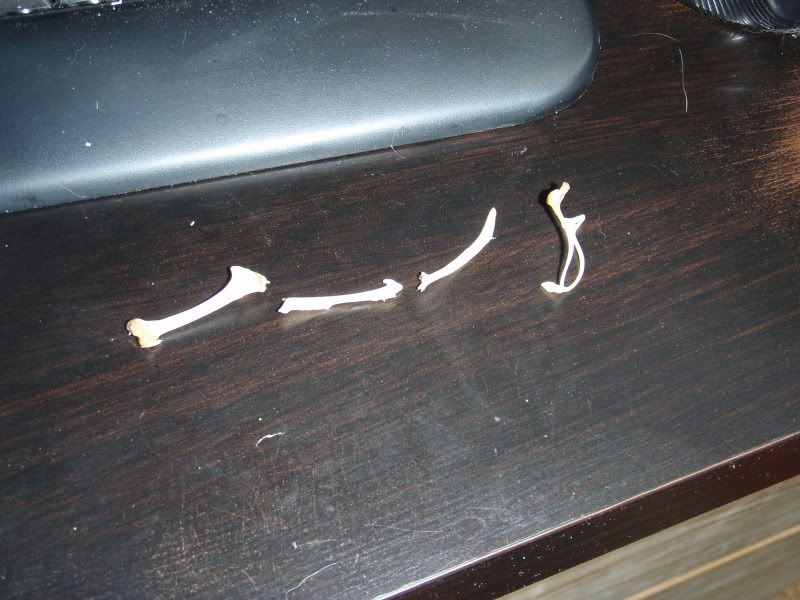
Wishbone, coracoid, clavicle and Humerus all cleaned off.
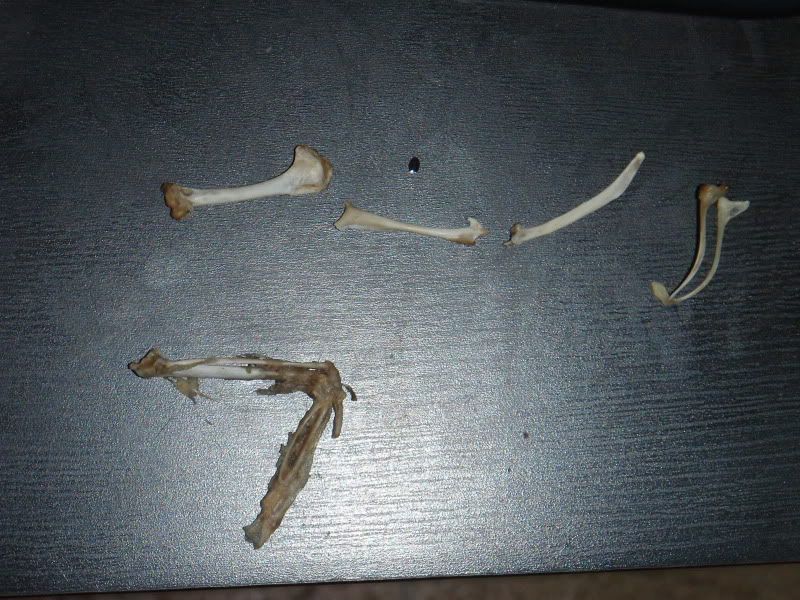
The arm, cleaned off.
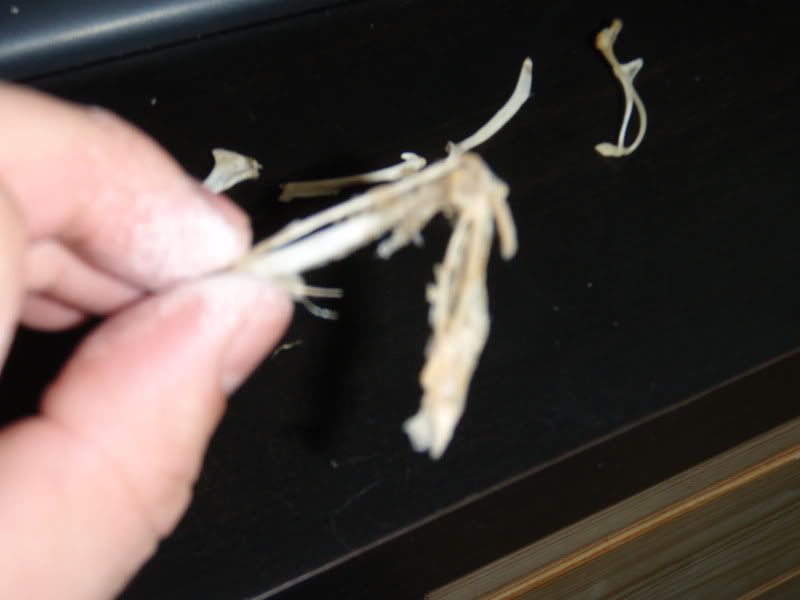
(sorry for poor quality)
The radius/ulna and wrist/fingers on birds is the worst nightmare you can imagine. So I left some of the connective tissue on this area, let it dry (connective tissue isn’t THAT bad when dried), solidified it with superglue and then I covered it in enamel. Yeah, buying clear nail polish is kinda awkward but I must suffer for my art. I’m like Van Gough up in this.
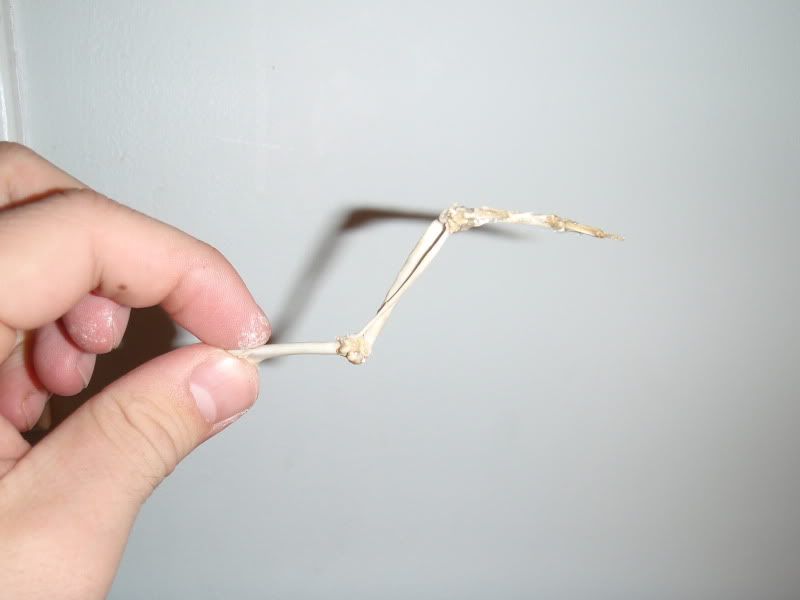
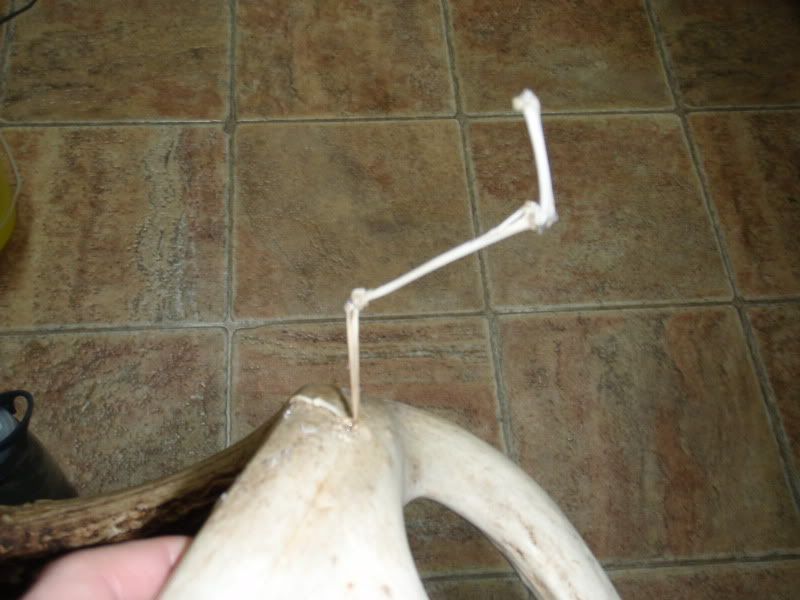
The arm, in one of its dozens of pose iterations. I used hot glue because of two reasons: 1. I make mistakes and 2. superglue and me ends with fragile bird bones stuck to my fingers. It makes me a hypocrite because I ripped on a museum curator earlier this year for using hot glue on a skeleton that they decided they may later want to repose.
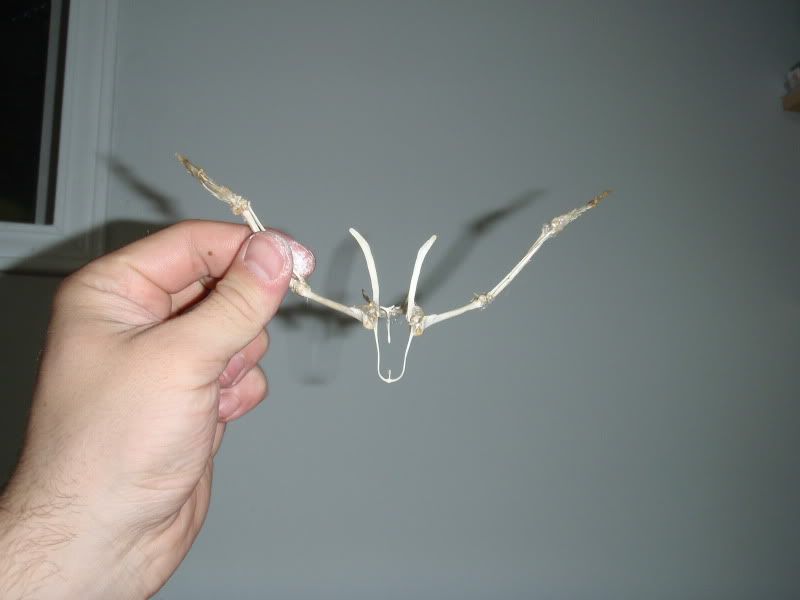
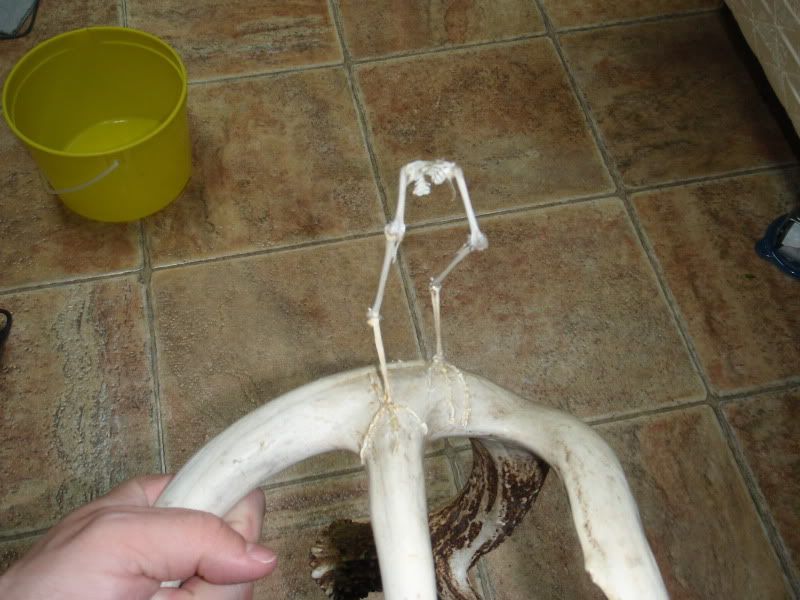
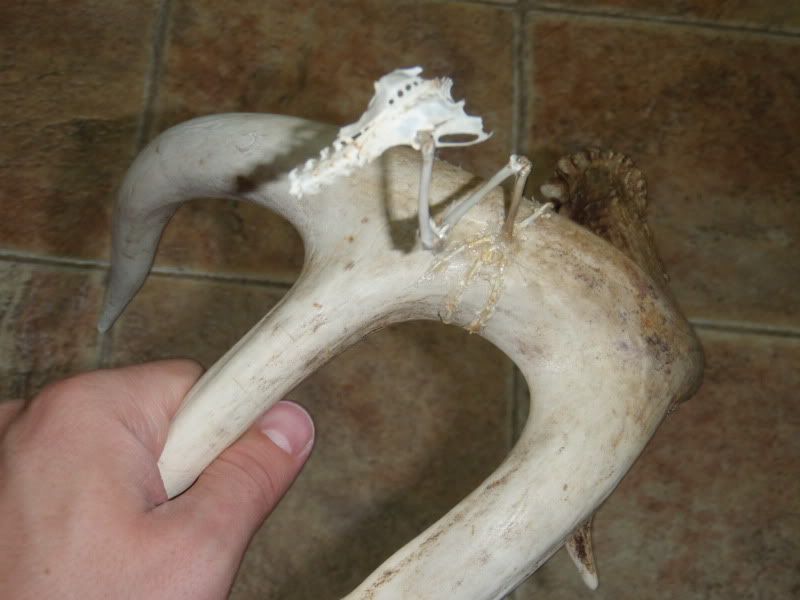
Pectoral girdle with wishbone and sternum in place, as well as both arms. No scapula, it was lost before I got there. Its arms are up in a 'taking off’ pose. Look how white my finger was! This 16 hours of work to prep this guy saw my hands bleached twice, burned and wrenched to shit. They were completely raw by the end.
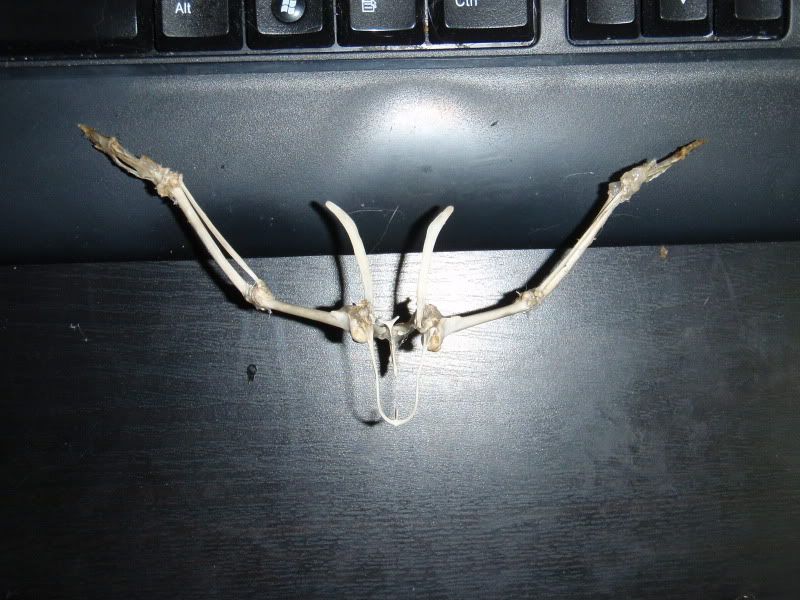
Just another pic with black for contrast.
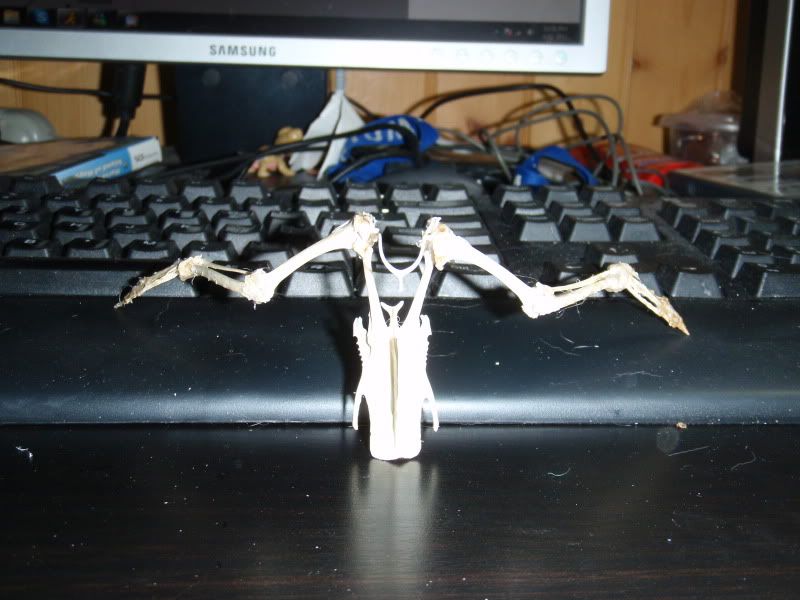
Pectoral girdle with view from sternum (bottom view).
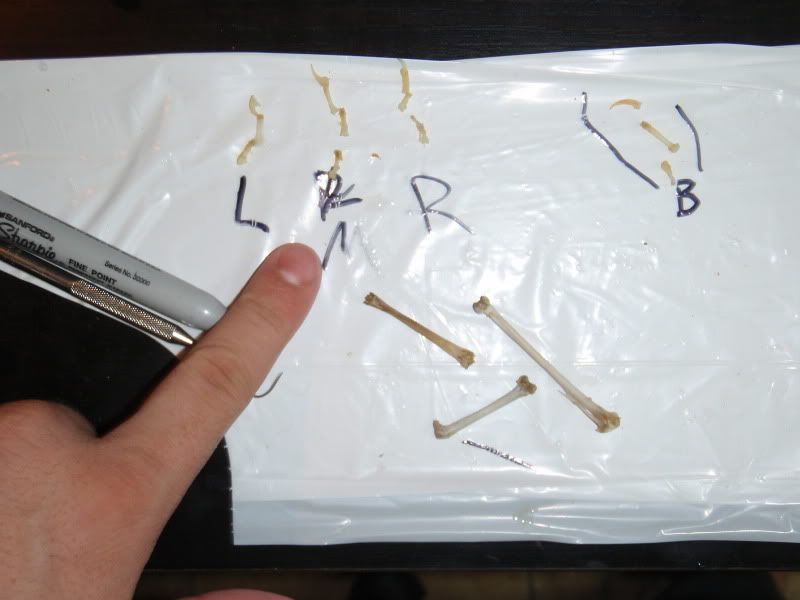
ne of the legs meticulously cleaned and layed out so I don’t confused what things are what. WHAT A PAIN.
Starting to mount the legs. I guessed the placement on the base and it worked well. By the way, the base is a nicely shaped deer antler.
Legs mounted with pelvis. Kind of in a staggered pose, as if it’s about to shove off!

Side view of mounted feet and legs.
Another view of the legs and pelvis. You can see the lumbar vertebrae that were in place already! I had to red join them as they fell apart though.

Vertebral column. Getting the S-shape of the spine was insanely hard, I had to guess what angle each vertebrae had to be at, I only had to redo it three times!
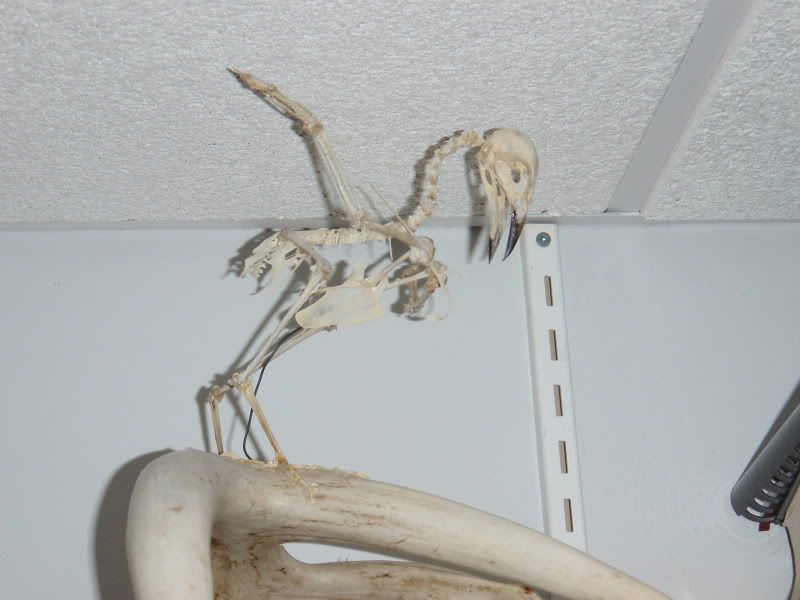
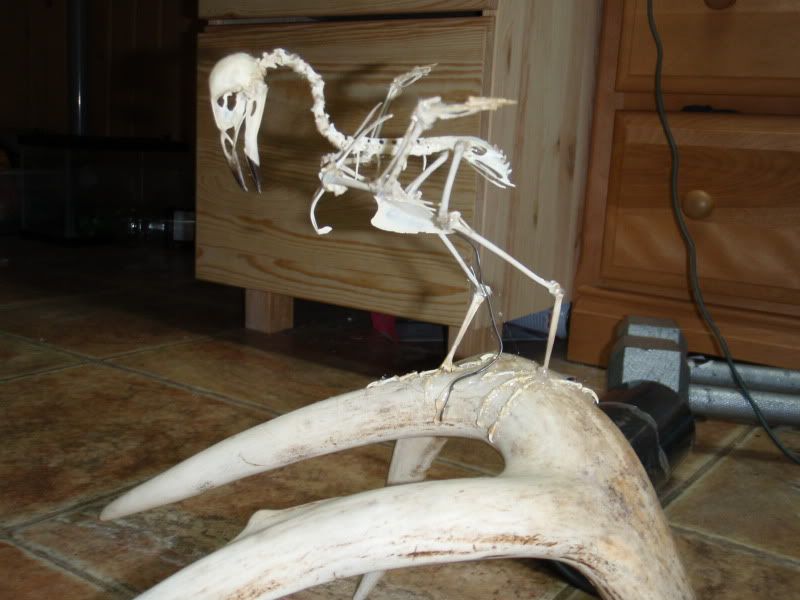
Jobs done! The skull wouldn’t hold up as well as I wanted, but it still looks alright! I had to use a piece of wire to hold the skull in place as it was. The pectoral girdle is held up by wire, I still might move that around but I’m far too lazy at this moment.


Look how much hot glue was wasted as I carefully compared notes, online resources (www.aves3d.org and www.digimorph.org) and places and replaced things. Also, because of bilateral symmetry, I compared the unprepared parts to the parts I was preparing to get a good idea.
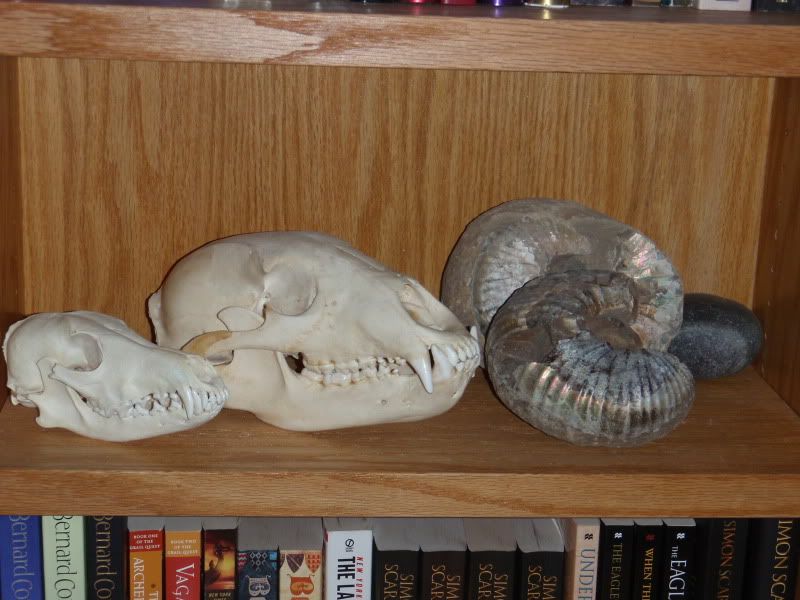
I’m kind half working on the fish skull too, I can post pics of all my other stuff later, including some of my more awesome fossils including raptor and tyrannosaur teeth, as well as other skulls and dinosaur bones...all with their own stories :D.
I took pics as meticulously as I could, as I often forgot when I was really rolling with some of this intense anatomy. I've never worked with bird bones before so this was a challenge. I did try my best to document it for you guys. Overall I'm missing the sclerotic ossicles (bones in the retina of the eyes), some ribs and both scapula. Pretty damn complete though! I'm not overly satisfied with the finished product but it was almost as hard of a skeleton as I coulda picked for my first full mount, not to mention the lack of experience with both full mounts and bird bones...so here you go! I worked my ass off on this and I hope you enjoy reading the process a bit. Feedback and questions would be lovely.
This is an example of what I dealt with. This is the lower half of its body, you can see the scales are on the legs still. I got so mad at this waterproof shit on its legs that I ripped it open and boiled it (microwave style) in peroxide for 2 minutes. This made the soft tissue fall off the bones and sterilized the shit out of it. Radiation + peroxide + boiling kills everything I can think of! I rolled this out because I was so insanely pissed off with flesh sticking to bones that were less than 1cm long and easily crushable...so yeah, this was the hardest core bleaching I've ever done! I kinda regret not taking a pic of it for you guys, but all the tendons tightened up and it was like gnarled roots. Nicely bleached bones, though! Shoulda done that with all the damn bones, made a nice clean product. I may still throw down some white paint on this bird, as well as enamel to seal the still rotting marrow in the center of the bones as that is reasonably common practice in museums for small songbird skeletons, it seems.
Wishbone, coracoid, clavicle and Humerus all cleaned off.
The arm, cleaned off.
(sorry for poor quality)
The radius/ulna and wrist/fingers on birds is the worst nightmare you can imagine. So I left some of the connective tissue on this area, let it dry (connective tissue isn’t THAT bad when dried), solidified it with superglue and then I covered it in enamel. Yeah, buying clear nail polish is kinda awkward but I must suffer for my art. I’m like Van Gough up in this.
The arm, in one of its dozens of pose iterations. I used hot glue because of two reasons: 1. I make mistakes and 2. superglue and me ends with fragile bird bones stuck to my fingers. It makes me a hypocrite because I ripped on a museum curator earlier this year for using hot glue on a skeleton that they decided they may later want to repose.
Pectoral girdle with wishbone and sternum in place, as well as both arms. No scapula, it was lost before I got there. Its arms are up in a 'taking off’ pose. Look how white my finger was! This 16 hours of work to prep this guy saw my hands bleached twice, burned and wrenched to shit. They were completely raw by the end.
Just another pic with black for contrast.
Pectoral girdle with view from sternum (bottom view).
ne of the legs meticulously cleaned and layed out so I don’t confused what things are what. WHAT A PAIN.
Starting to mount the legs. I guessed the placement on the base and it worked well. By the way, the base is a nicely shaped deer antler.
Legs mounted with pelvis. Kind of in a staggered pose, as if it’s about to shove off!
Side view of mounted feet and legs.
Another view of the legs and pelvis. You can see the lumbar vertebrae that were in place already! I had to red join them as they fell apart though.
Vertebral column. Getting the S-shape of the spine was insanely hard, I had to guess what angle each vertebrae had to be at, I only had to redo it three times!
Jobs done! The skull wouldn’t hold up as well as I wanted, but it still looks alright! I had to use a piece of wire to hold the skull in place as it was. The pectoral girdle is held up by wire, I still might move that around but I’m far too lazy at this moment.
Look how much hot glue was wasted as I carefully compared notes, online resources (www.aves3d.org and www.digimorph.org) and places and replaced things. Also, because of bilateral symmetry, I compared the unprepared parts to the parts I was preparing to get a good idea.
I’m kind half working on the fish skull too, I can post pics of all my other stuff later, including some of my more awesome fossils including raptor and tyrannosaur teeth, as well as other skulls and dinosaur bones...all with their own stories :D.