1) Open the sprite in photoshop and enlarge it, it will serve as the stencil here. Of course, you can feel free to draw your own line art as well as long as it's fairly conservative.
2) I lowered the opacity of the sprite, and in a new layer, traced its outline. On a 1000 pixel canvas, a 5 pixel paint brush is a good bet.
3) Line art!
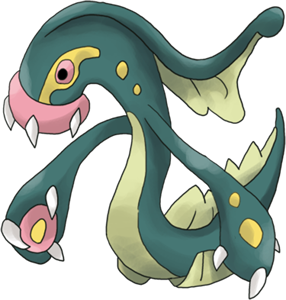
4) Next, open a piece of old sugimori art of a pokemon with a similar color scheme. Ideally, it'll have all the colors you need. Otherwise, use your own eye where necessary (I made up colors for Maggyo's beak for instance). You can use sprites as a pallet, but the result is not as good.
5) Next, use the magic wand tool (the highlighted tool in the left-hand tool bar included in this slide) to select all the areas that are the same color (ie. "brown" or "yellow"). From there, use Select > Modify > Expand, and expand 1-2 pixels. Then, in a new layer, fill the selected area with the appropriate color sucked up from the Sugimori art.
6) Sharp areas or points may not get perfectly filled by this technique, so you should go into those areas and color in directly with a paintbrush.
7) Continue the process detailed above for each color, making a new layer for each color. When you do, you should have something that looks like this slide.
8) Next, you want to "opacity lock" all the new layers you made. Opacity lock locks what areas of a layer are colored and which aren't. This will let you freely color without "going over the lines." You may also notice I name my layers.
9) Use the air brush to draw in the shades/highlights, adjusting its size where necessary. Of course the shading/highlight colors also come from the original sugimori art.
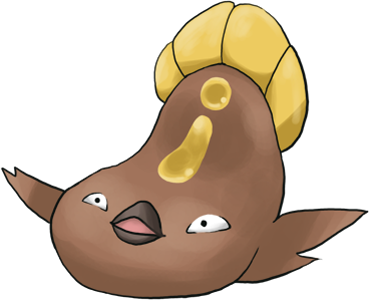
10) The result of my coloring the "yellow" layer.
11) After doing this for each layer-- you're done! Reduce the size of the canvas and save in .png format.